I am an Application Developer, and most of my work has been around Android App Development. However, since I started using MacBook and iPhone, I felt restricted, because I could not use apps that I have developed. I had two options:
1. Buy an Android Phone and lose the excellent sync Apple provides for iPhone and MacBook
2. Learn iOS development and start building for iPhone
I chose the difficult one. 😅
Choosing the source
For Android, I have always referred to the official docs and Google Developer channel on YouTube, but the documentation from Apple Developers disappointed me.
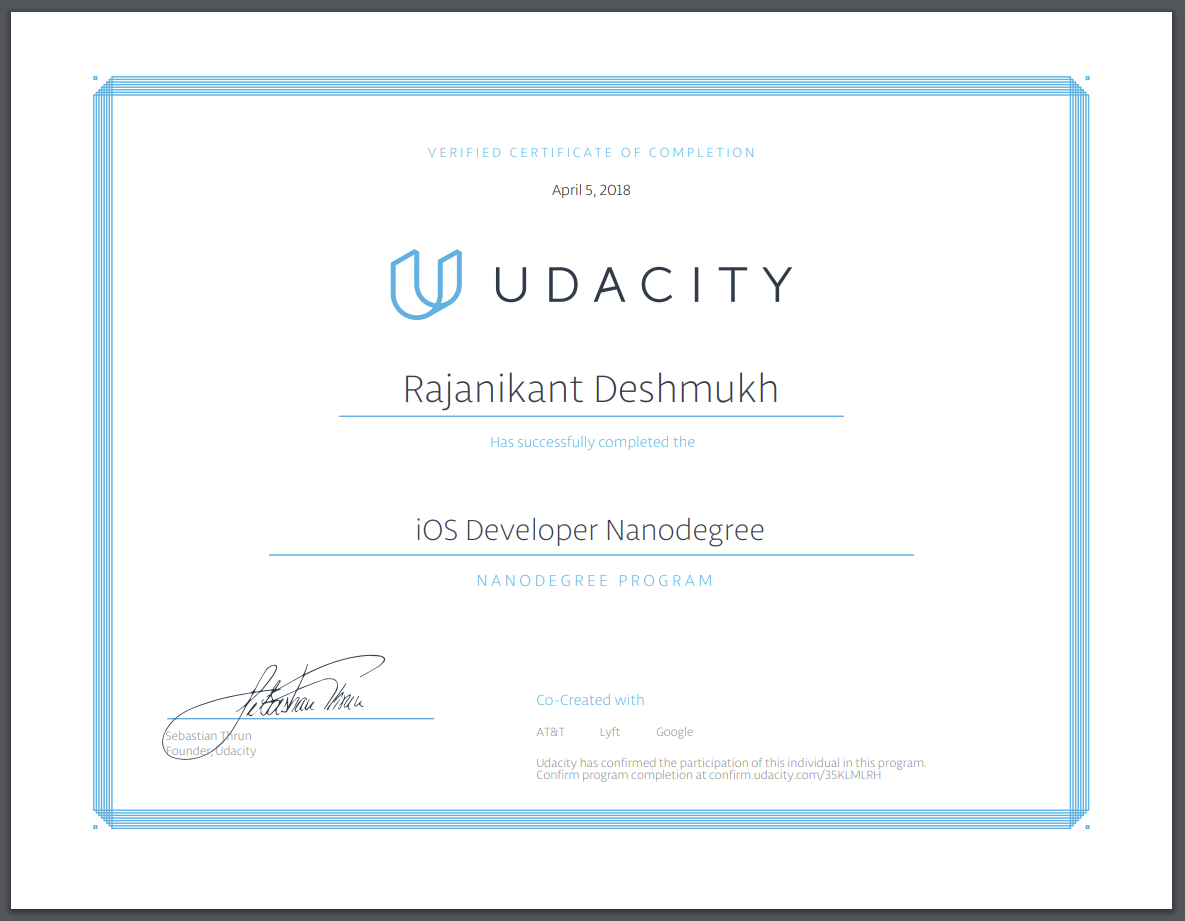
I already had an Android Nanodegree Certificate, and the experience with Udacity was enough for me to trust it blindly. So, I enrolled in iOS Nanodegree, paid the fees and Rolled out!
Course Contents
The course was divided into following lessons, namely
0. Learn Swift Programming
1. Intro to iOS App Development with Swift
2. UIKit Fundamentals
3. Network Requests and GCD
4. Data Persistence
5. Final Project
Each lesson is focused on the vital aspects of iOS development and had a project associated with it. Five projects in three months on an entirely new platform huh! Challenge Accepted!
TL;DR
For those who believe “Talk is cheap. Show me the Code”.

Project 1: Pitch Perfect
The first project was an app that records audio and then plays it with different voices. Isn’t it cool? It is when you use UINavigationController, IBAction and IBOutlet, AVAudioRecorder and programmatically configured Segue in it. 😜
I spent it on learning Swift syntax and playing with Xcode, official IDE for iOS development. The lesson had an introduction to Xcode and Swift playgrounds. It covered simple designing layout with Layout Editor, writing ViewControllers for layouts and connecting them with IBActions and IBOutlets. I quickly completed the project Pitch Perfect for this lesson, my first properly working iOS App.
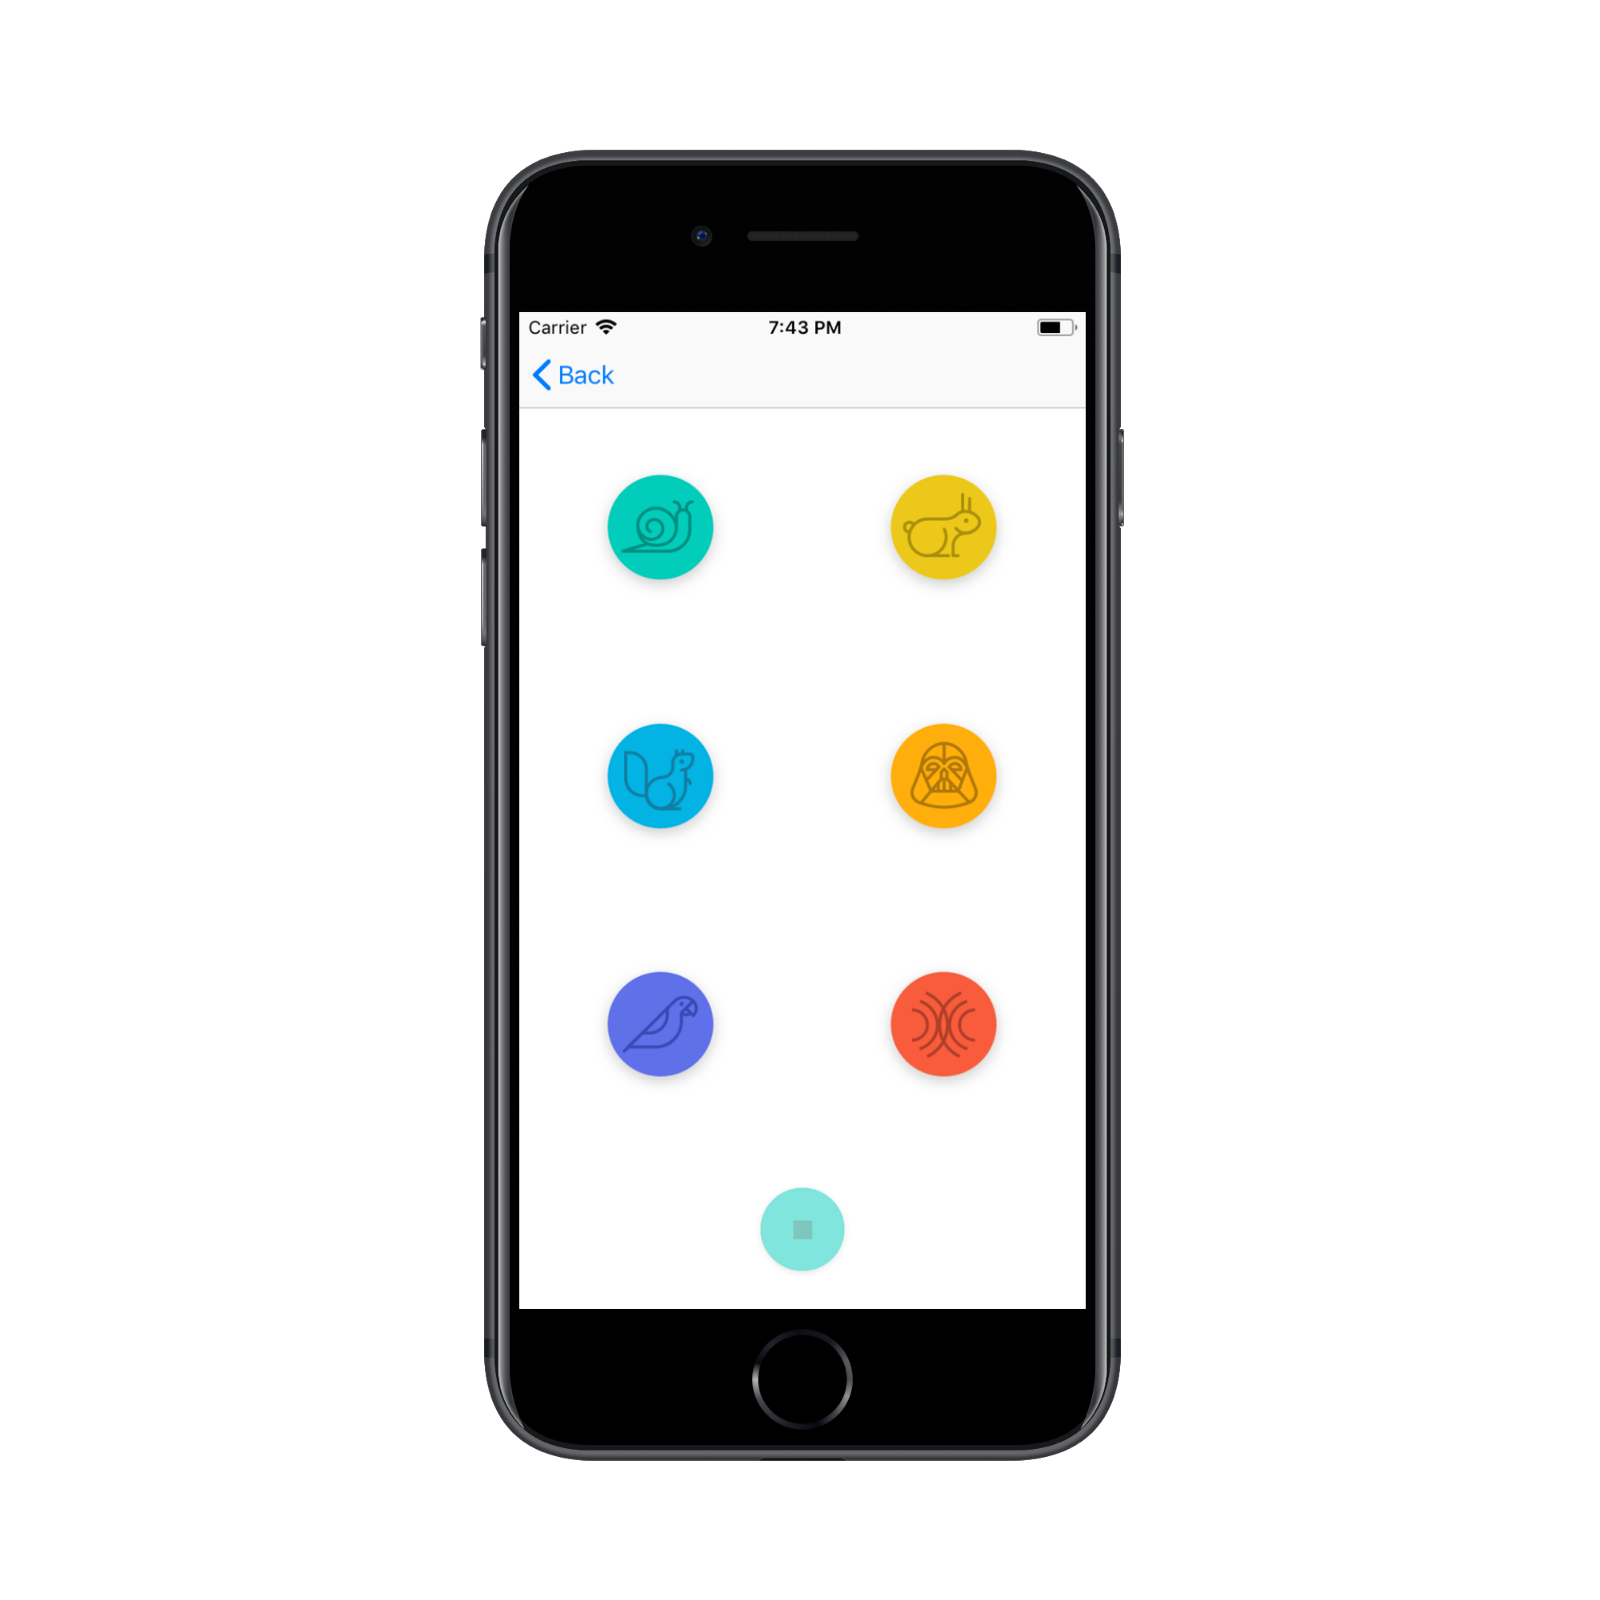
Project 2: Meme Me
The next challenge was to get proficient with UI design and in turn UIKit framework. This project introduced UITableView, UICollectionView, Tab Controller and a bunch of other UI elements. Along with the UIKit, I also learned how to use Camera and Album to pick an image and share the meme by using ActivityViewController.
The significant challenges while developing this app were using UINavigationBar, adding constraint variants for different iPhone and iPad screens with portrait and landscape orientation, and the use of UICollectionView.
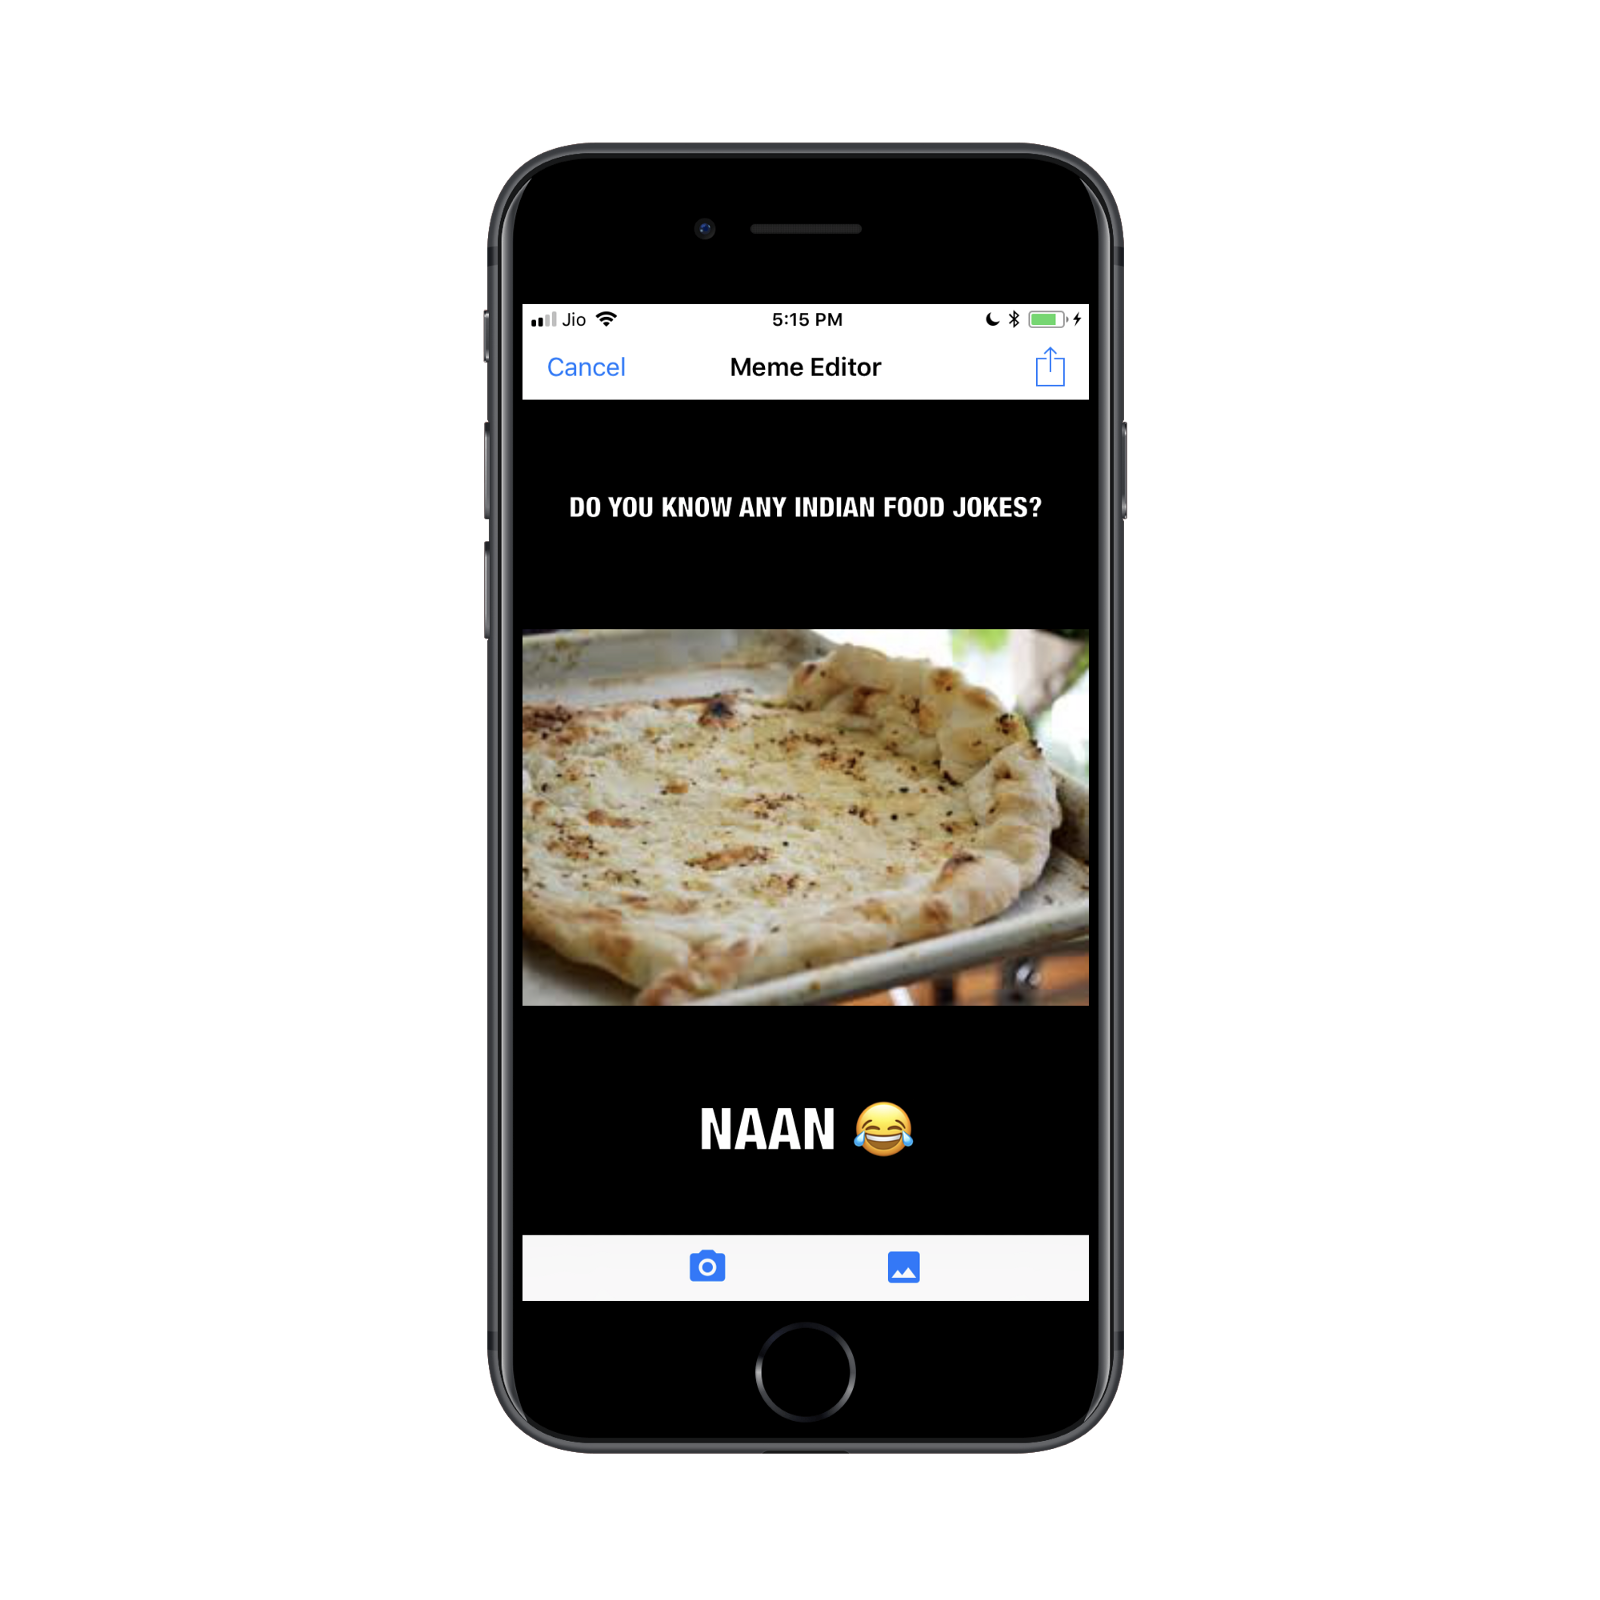
The app I developed for this lesson was MemeMe, an app that will enable users to create memes out of images and share them on social media. In the end, the app was ready, and I started making memes of my friends! 😄
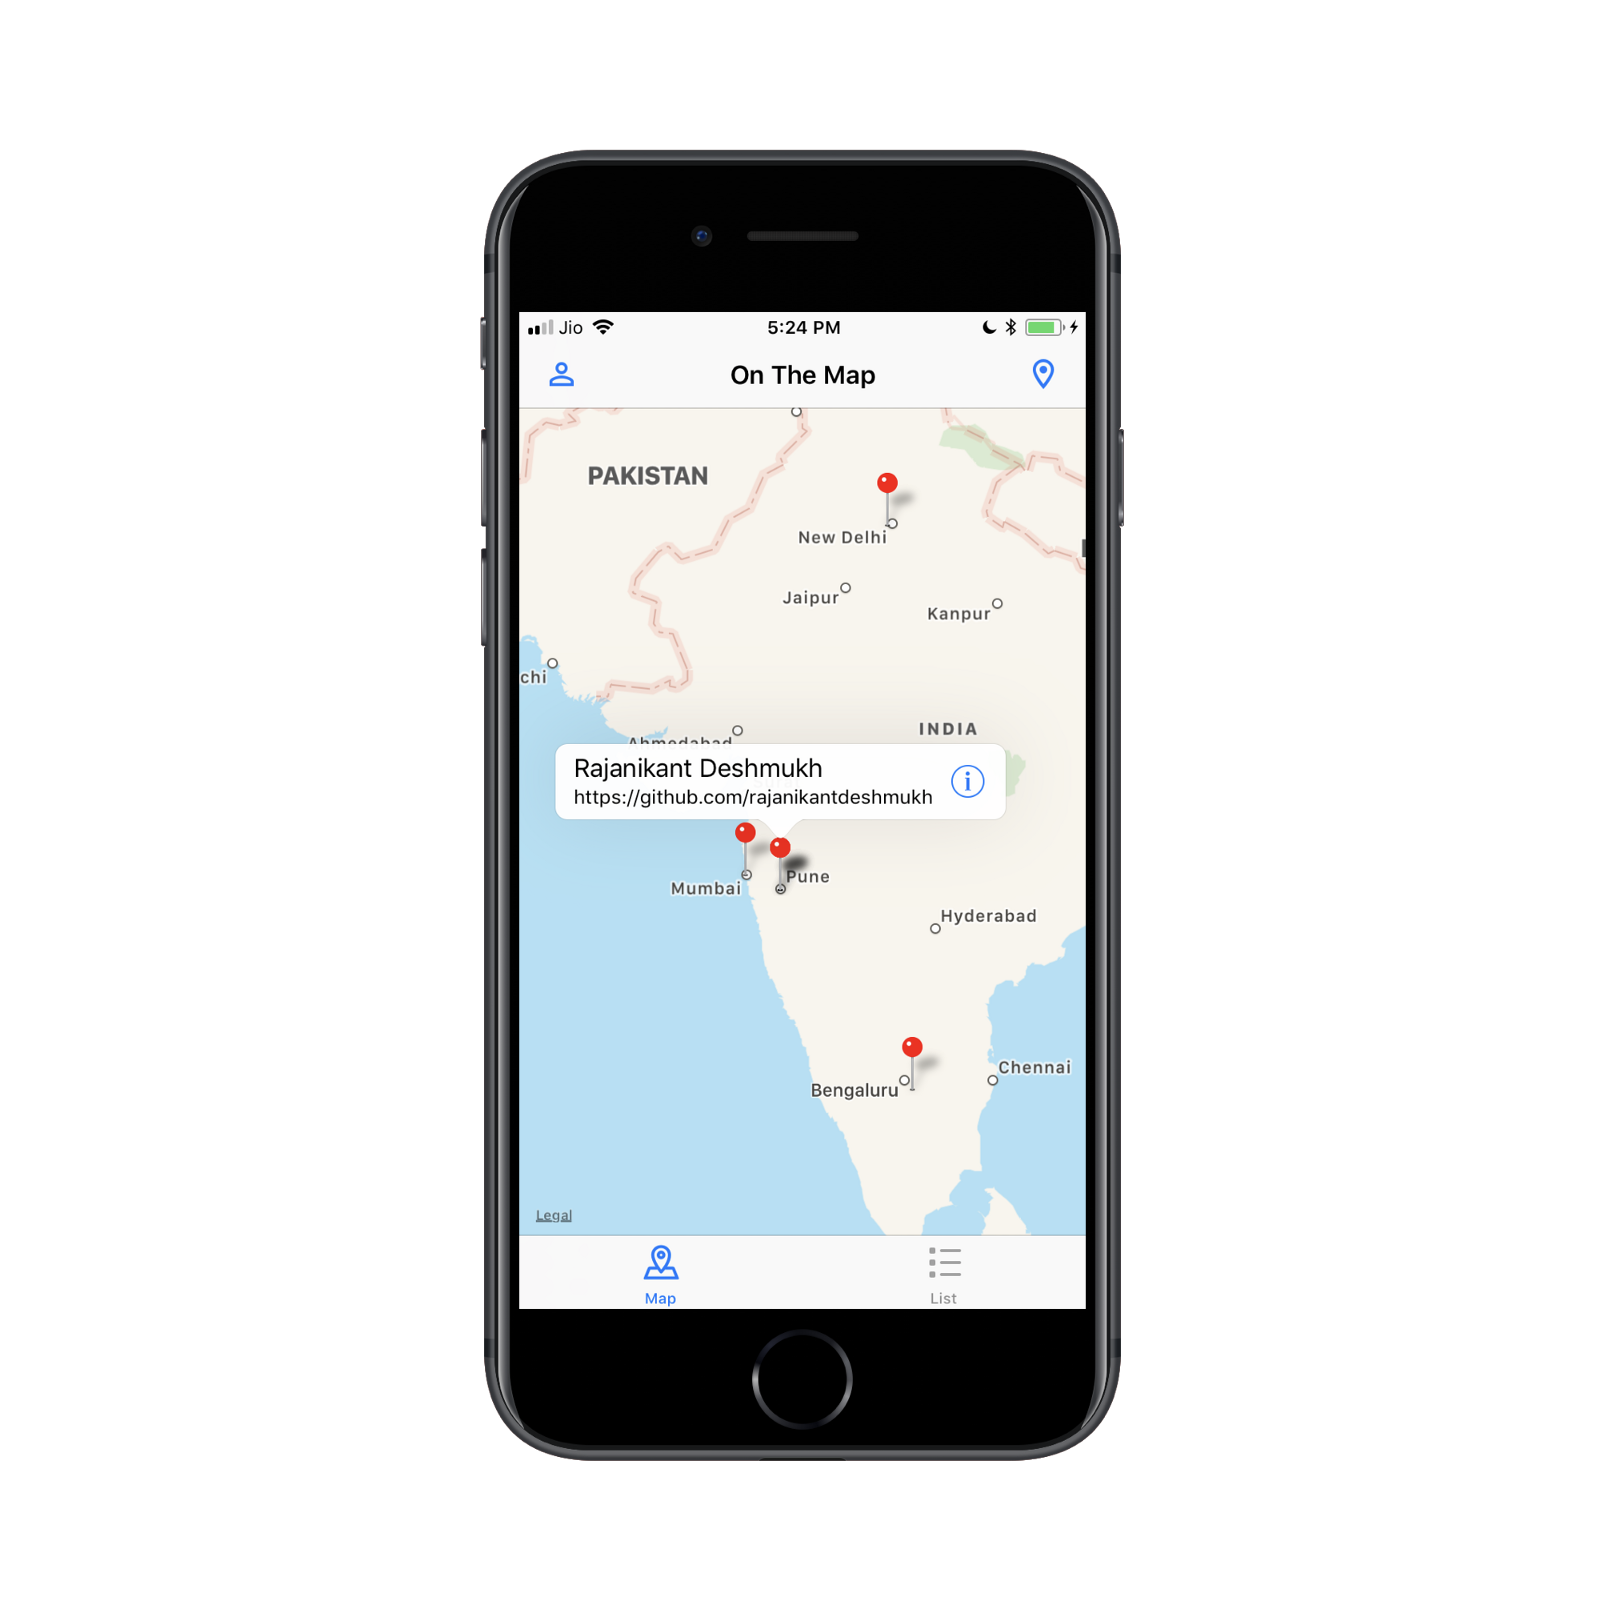
Project 3: On The Map
Once I got to know how to build screens, the next step was to get data to fill it in. Here comes consuming APIs from the internet, and the next app On The Map.
The app lets Udacity students log in using their credentials, view other students’ locations, and add their location with profile link so that other students can see it. Udacity provided its authentication API docs for login and hosted Parse server to provide location data.
This project had everything that was in the previous project, in addition to Networking with Swift and using MapKit. I learned how to use URLSession to create HTTP request, use tasks to send and receive a response from the server, parse JSON responses using NSDictionary and finally using callbacks.
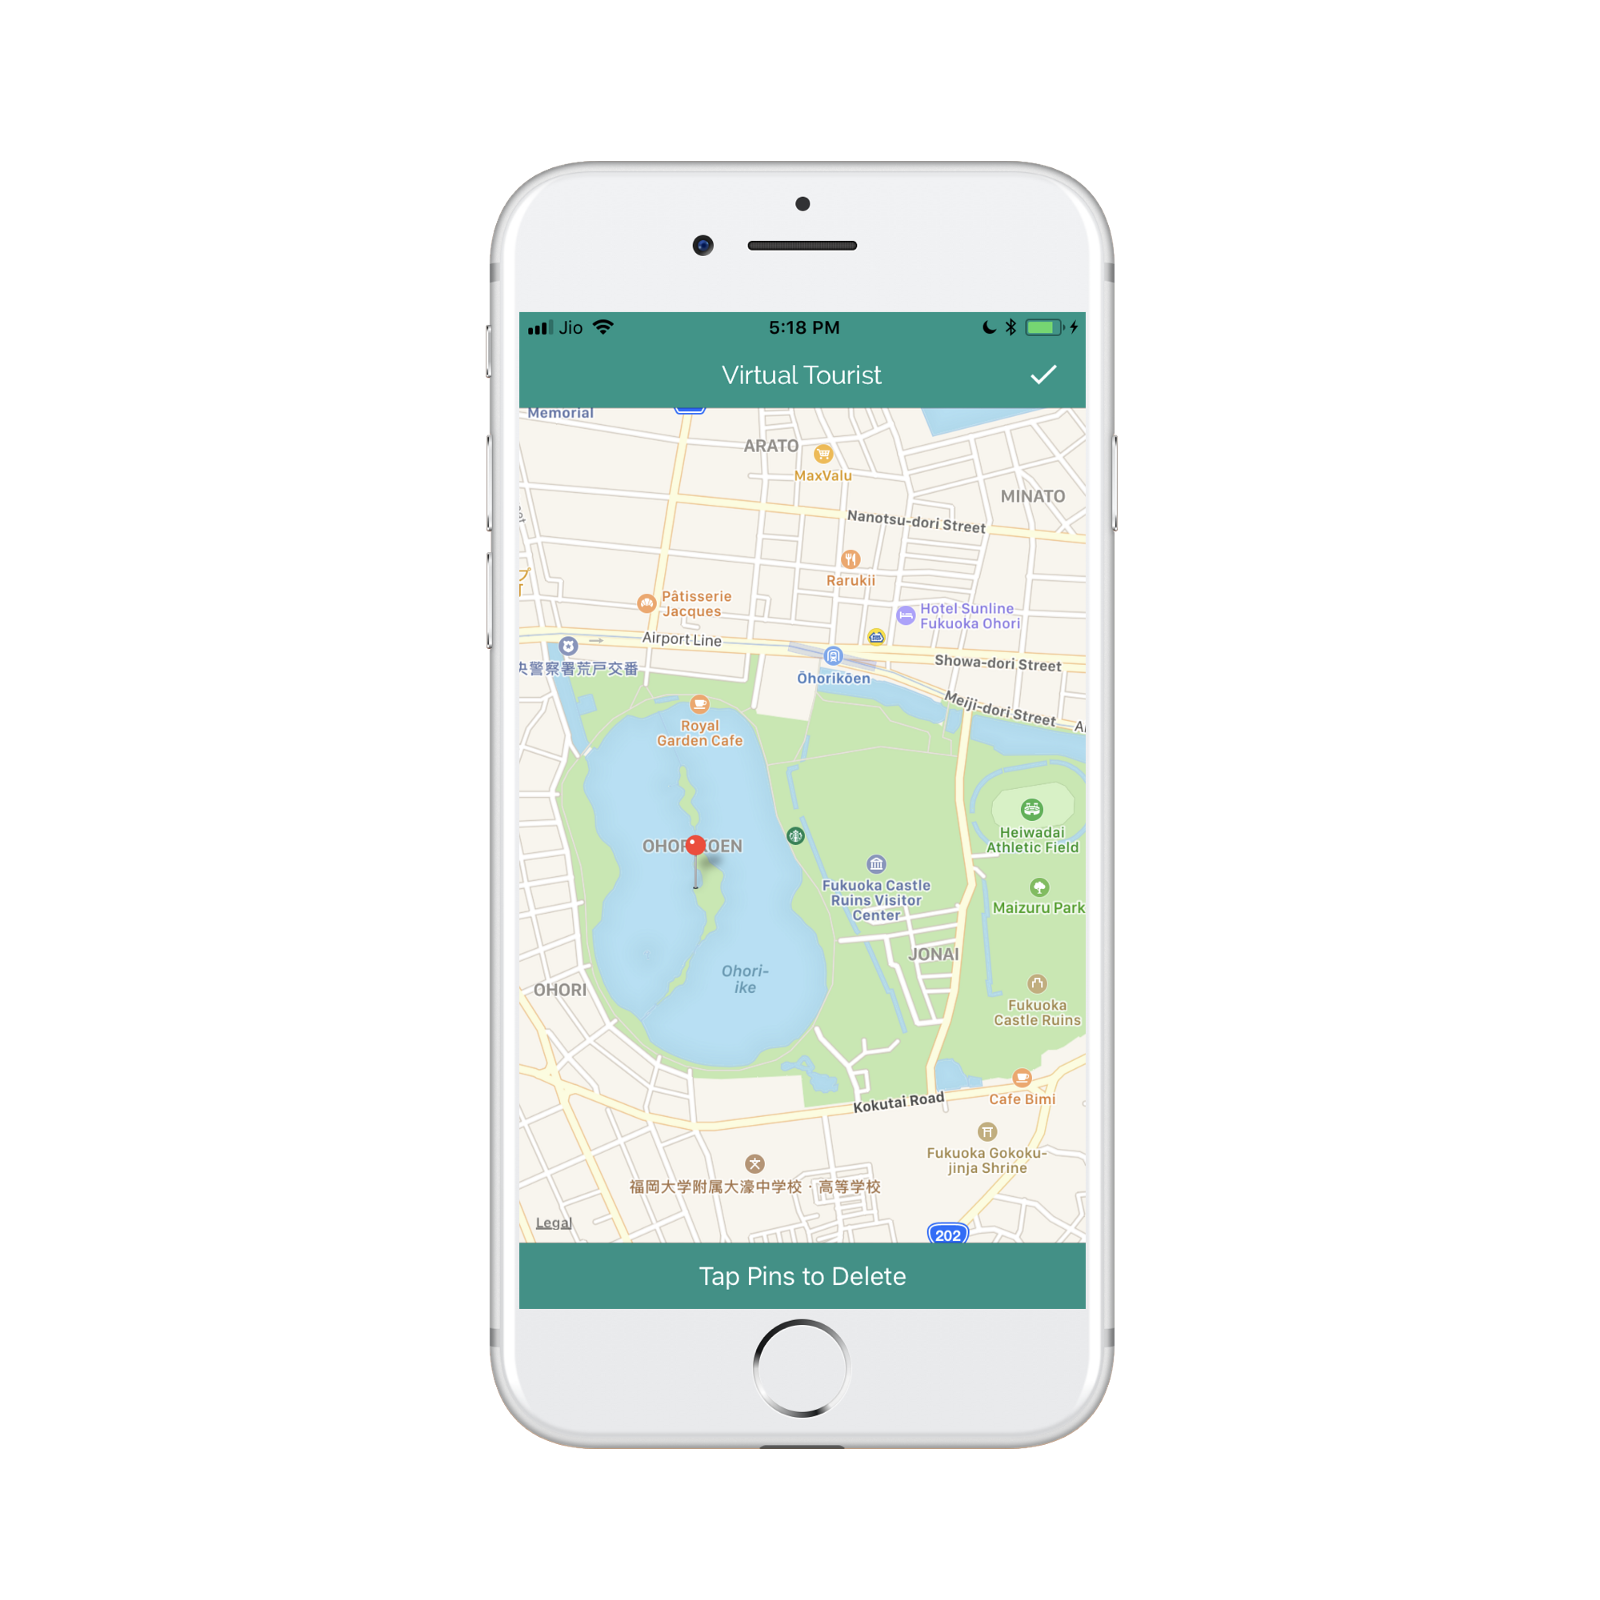
Project 4: Virtual Tourist
The final learning challenge was to get familiar with data persistence in iOS. Man, it was difficult! Core Data is not something to mess with for a beginner. 😅
The app can let you put pins on the map and then see the photos around that location. The images were downloaded from Flickr search APIs, using Kingfisher, an image caching library similar to Picasso in Android. Virtual Tourist is the best app I have developed till now! I also tried to incorporate Material Design in this app. Though it does not suit iOS apps, the app was looking quite good.
Project 5: The Capstone Project
The learning part was over, and it was time to draw everything I have learned so far. It was fascinating, challenging, and needed me to code the best out of me, and deserves its own post. 😄
The Nano Graduation
After three months of struggling with constraints and Swift syntax, finally, I got the Nanodegree Certificate! Now I am an iOS Nanodegree graduate, and I have the confidence to develop iOS app professionally.
If you want to check my projects, visit my GitHub profile.
You can find more about the Udacity iOS Developer Nanodegree here.